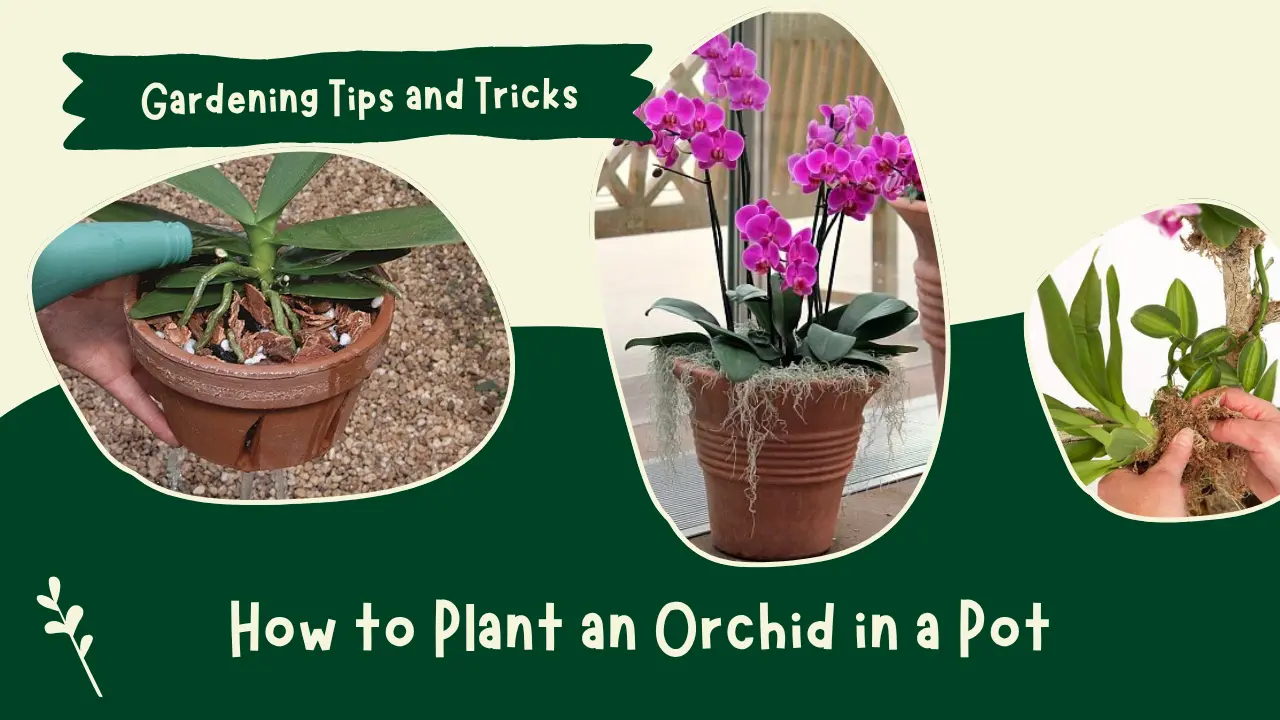
Quick Guide:- Plant an orchid in a pot with drainage holes using orchid bark instead of regular soil. Trim damaged roots, place the orchid loosely in the pot, and water only when the bark dries out. Keep it in bright, indirect sunlight with good airflow for healthy roots and long-lasting blooms.
How to plant an orchid in a pot is a question I often hear from beginner gardeners. Orchids may look delicate, but they are surprisingly easy to grow once you understand what they need. The biggest secret is that orchids are very different from most houseplants. They don’t like ordinary garden soil, and their roots need plenty of air to stay healthy.
I have been growing houseplants for several years, and orchids were one of the first flowering plants that taught me the importance of proper potting. Like many beginners, I initially planted one in regular potting soil, and within a few weeks the roots started rotting. After learning about orchid bark and proper drainage, my orchids became healthier, produced new roots, and rewarded me with beautiful flowers. In this guide, I’m sharing the same method that has worked well for me.
IN THIS ARTICLE
Why Orchids Need Special Potting
Most orchids grown indoors are epiphytes, which means they naturally grow attached to tree trunks instead of in the ground. Their roots absorb moisture from the air while also needing constant airflow. Because of this, planting an orchid in regular soil usually leads to root rot.
Using a well-draining orchid mix keeps the roots healthy, allows excess water to drain away quickly, and creates conditions similar to the orchid’s natural habitat.
What You’ll Need
Before you begin, gather a few basic supplies.
- A healthy orchid plant
- A pot with drainage holes
- Orchid bark or orchid potting mix
- Sterilized scissors or pruning shears
- Clean water
- Gloves (optional)
Having everything ready makes the planting process much easier and reduces stress on the plant.
Choosing the Right Pot
Selecting the correct pot is just as important as choosing the right growing medium. I usually recommend clear plastic orchid pots because they allow me to monitor root health and moisture levels without disturbing the plant.
Choose a pot that is only slightly larger than the root system. An oversized pot holds extra moisture, which can damage the roots over time. Whatever type of pot you choose, make sure it has plenty of drainage holes.
The Best Potting Mix for Orchids
Never plant orchids in ordinary garden soil.
Instead, use a mix that drains quickly while allowing air to reach the roots.
A good orchid mix may contain:
- Orchid bark
- Coconut husk chips
- Perlite
- Charcoal
- Sphagnum moss (for dry climates)
This combination helps prevent root rot while keeping the roots healthy.
How to Plant an Orchid in a Pot
The first step is to gently remove the orchid from its old container. Shake away the old bark without pulling or damaging the roots. Healthy orchid roots usually appear green or silvery and feel firm to the touch.
Next, inspect the root system carefully. Trim away any soft, black, brown, or mushy roots using sterilized scissors. Removing damaged roots helps the plant focus its energy on healthy growth.
Now place a thin layer of fresh orchid bark in the bottom of the new pot. Position the orchid in the center so the base of the plant sits just above the bark. Slowly add more orchid mix around the roots while gently tapping the pot to settle the bark. Avoid pressing the mix tightly because orchid roots need good airflow.
Once planted, water the orchid lightly to help the bark settle into place. Allow all excess water to drain completely before returning the plant to its growing location.
Where to Place Your Newly Potted Orchid
After planting, place your orchid somewhere it receives bright but indirect sunlight. A location near an east-facing window usually works well in my home because it provides gentle morning light without exposing the leaves to harsh afternoon sun.
Keep the plant in a warm room with good air circulation. Healthy airflow helps reduce fungal problems and encourages stronger root growth.
Watering Tips After Planting
One of the most common mistakes I see is overwatering. Newly planted orchids don’t need daily watering.
I follow these simple rules:
- Water only when the bark feels dry.
- Allow excess water to drain completely.
- Never leave the pot standing in water.
- Reduce watering during winter.
- Water early in the morning whenever possible.
These habits have helped keep my orchids healthy throughout the year.
Fertilizing Your Orchid
Once your orchid begins producing new roots and leaves, you can start feeding it with a balanced orchid fertilizer.
For the best results:
- Feed every 2–4 weeks during active growth.
- Use fertilizer at half the recommended strength.
- Flush the pot with plain water once a month to remove salt buildup.
Avoid fertilizing immediately after repotting because the plant needs time to recover.
Common Mistakes Beginners Should Avoid
Even healthy orchids can struggle if planted incorrectly.
Some common mistakes include:
- Using regular garden soil.
- Choosing a pot without drainage holes.
- Watering too frequently.
- Planting in an oversized container.
- Keeping the orchid in direct afternoon sunlight.
- Packing the bark too tightly around the roots.
Avoiding these mistakes will greatly improve your orchid’s chances of thriving.
Signs Your Orchid Is Happy
After a few weeks, your orchid will begin showing signs that it has settled into its new pot.
Look for:
- Bright green new roots.
- Firm, healthy leaves.
- Strong root growth.
- New flower spikes during the blooming season.
- Healthy green root tips.
These are good indicators that your orchid is adapting well.
Conclusion
Learning how to plant an orchid in a pot is easier than many people think. From my own gardening experience, the key is to use a breathable orchid potting mix, avoid overwatering, and choose a pot with excellent drainage. If you give your orchid the right environment, it will reward you with healthy roots, fresh leaves, and stunning blooms for years. A little patience and proper care can make all the difference, even if you’re growing your very first orchid.
You may also like
